How to Enable Impersonation in Microsoft 365 or Exchange Server On-Premises (2025 version)
Impersonation is a way of granting a single Microsoft 365 (formerly Office 365) or Exchange on-premises account domain-wide access to perform actions on behalf of other users through Exchange Web Services (EWS) API. This is extremely useful when developing an organization-level calendar, contact or task integration within a tenant or between two tenants.
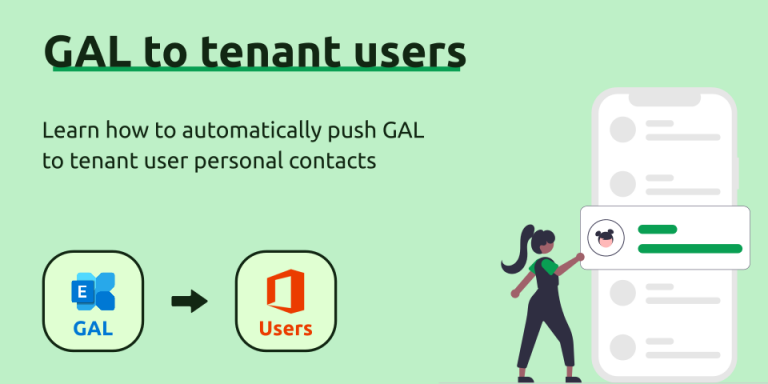
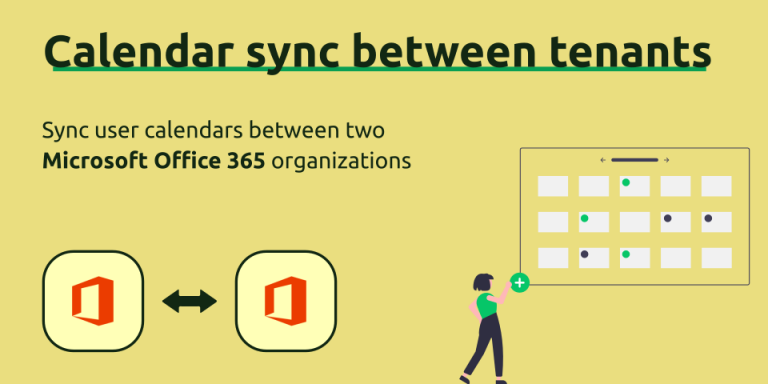
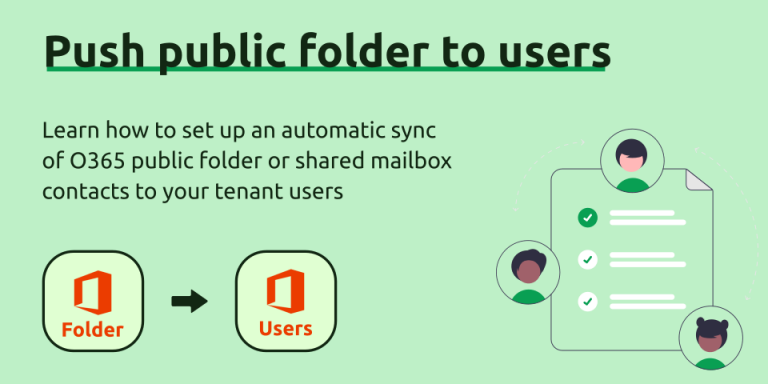
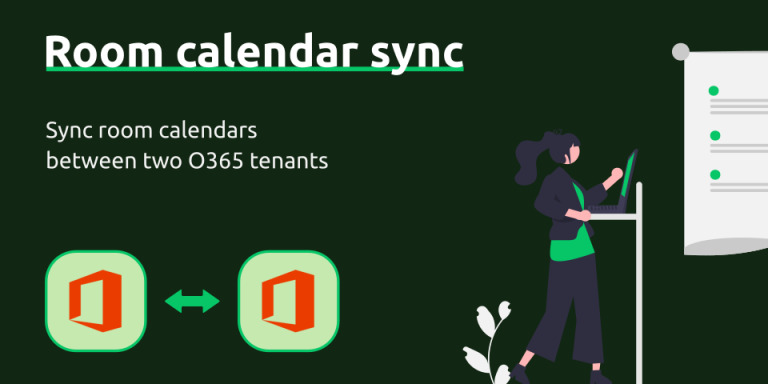
SyncPenguin has used impersonation for domain-wide access in its two-way, one-way, one-to-many and many-to-one syncs. For example, you can sync user calendars between two tenants, or push public folder contacts to all users in the organization. In this article, we explain how to grant user impersonation permission on both Office 365 and Exchange on-premises.
Microsoft 365 (Office 365) – Impersonation no longer supported
Microsoft is deprecating impersonation starting February 2025 in cloud Microsoft 365. Read more information here and here. Impersonation is still available in Exchange on-premises solutions. SyncPenguin has migrated to a different connection method.
Currently, the best place to configure impersonation in MS 365 is through the Exchange admin center, which can be directly accessed using this link: https://admin.exchange.microsoft.com/. Note that it’s different from the regular M365 admin center. Please ensure you are signed in as an admin user.
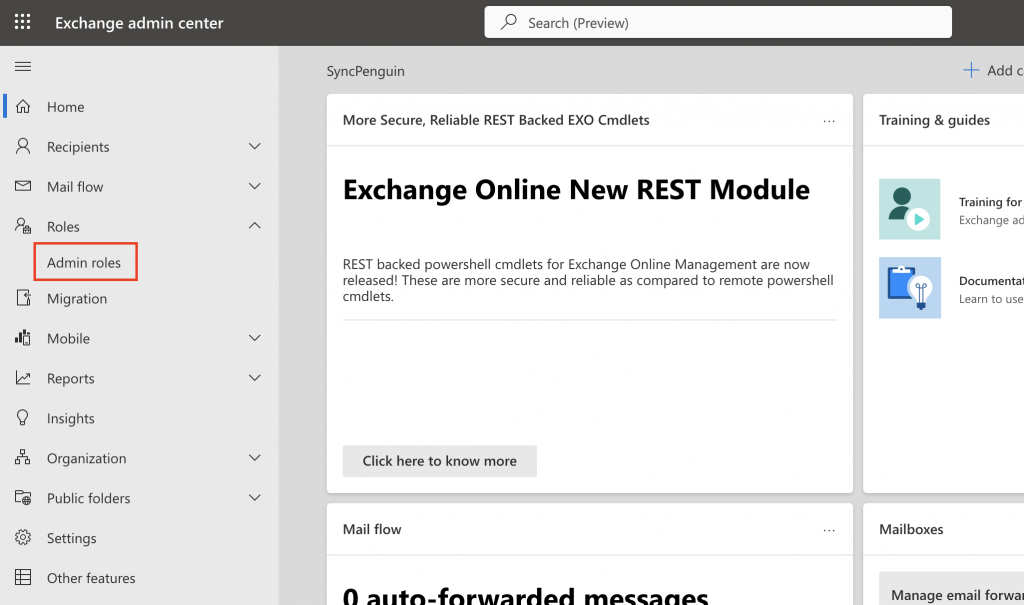
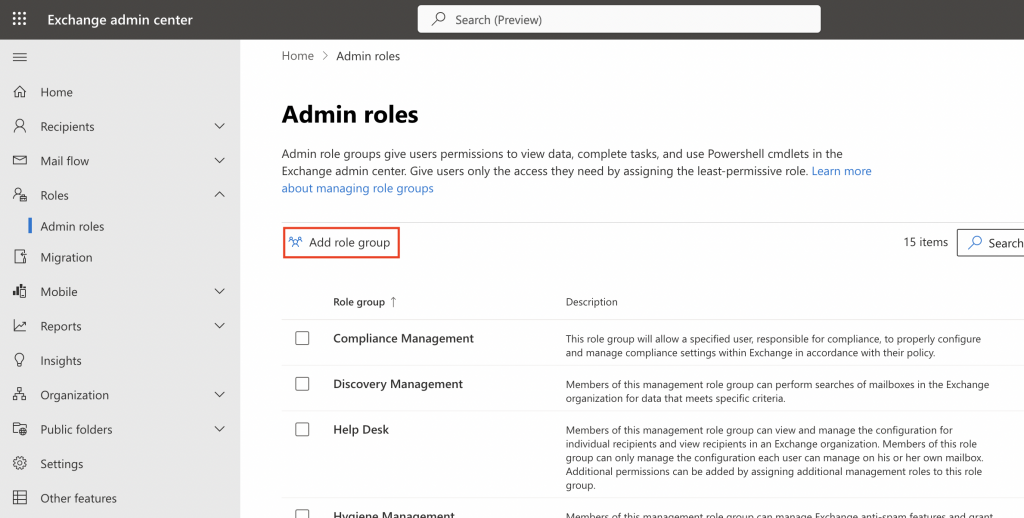
Once there, head to the “Roles” → “Admin roles” section and click “Add role group”.
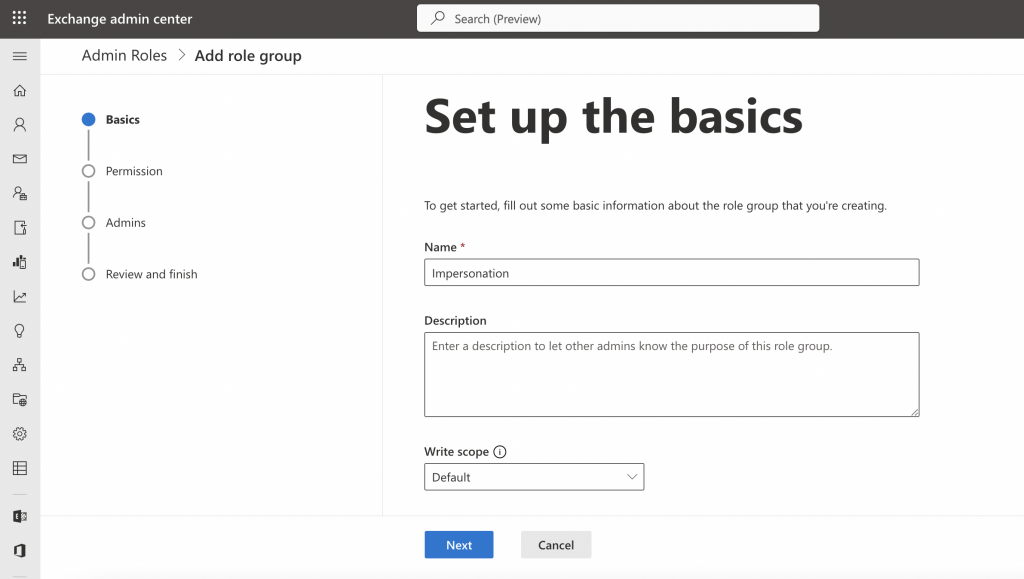
Next, enter the new role name (e.g. “Impersonation”) and click “Next”.
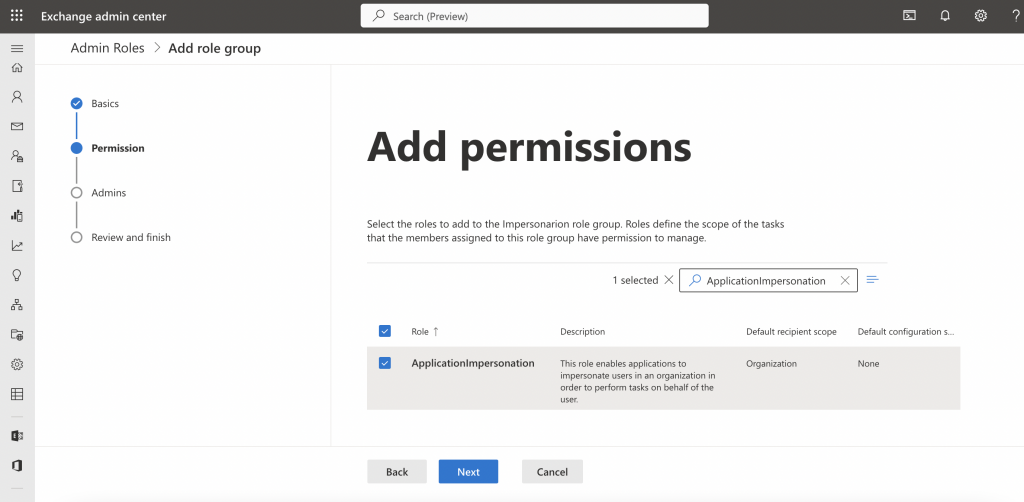
Then search for the ApplicationImpersonation permission, select it, and click “Next”.
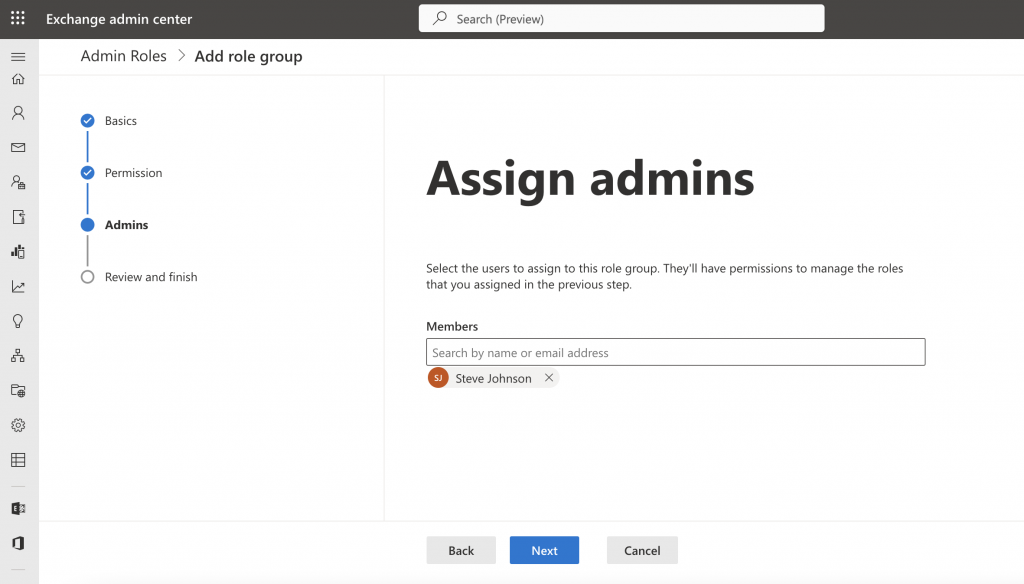
Then you need to select the user or user group that will be given the impersonation permission, and click “Next”.
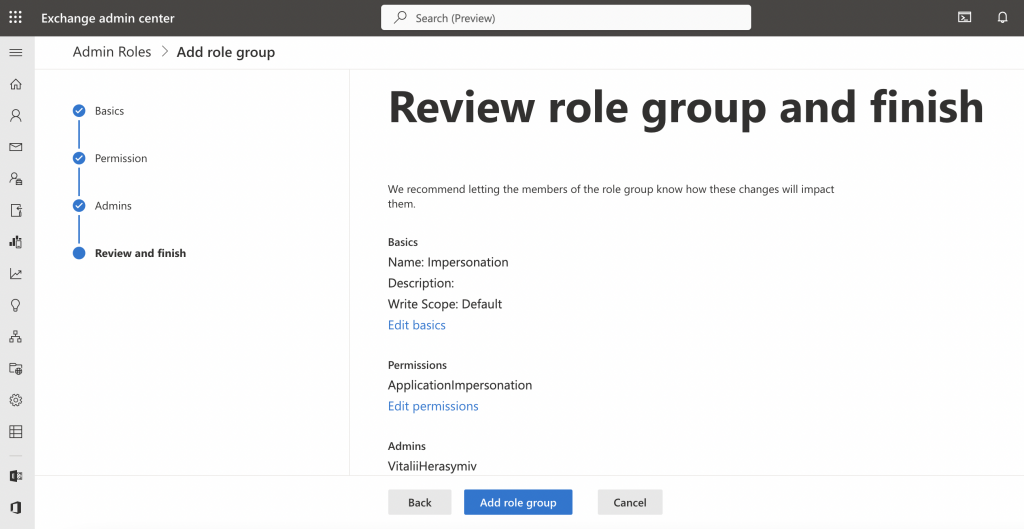
Lastly, you need to confirm your choices and click “Add role group”.
If successful, the following confirmation is shown. Click “Done” to return to the roles page.

Please note that the role assignment usually takes up to an hour to take effect. If the impersonation is not working right away, please wait a bit and try again later.
Exchange on-premises
If you have access to the Exchange admin center, you can configure the impersonation in a similar way as above. Otherwise, it can be done using a PowerShell command.
In the Exchange management shell, run the following command:
New-ManagementRoleAssignment -Name:ROLE_NAME -Role:ApplicationImpersonation -User:ACCOUNT_NAMEAs with Office 365, please note that the change usually takes up to an hour to take effect.
Looking for an O365 or Exchange sync or integration?
Maybe we can help. Check out the list of our supported syncs, and feel free to contact us for any questions.