Customization
NEW CUSTOMIZATIONS INTERFACE
SyncPenguin has recently migrated to a new customizations interface. You can access the guide to the old one here.
SyncPenguin provides a modern no-code interface for a high level of advanced customizations of the sync process. This includes adding/removing fields from field mapping, applying filters, using custom fields, adding conditions, loops, and other forms of data transformation.
This guide provides in-depth information on how to configure custom field mapping using our visual interface without any code.
Create custom mapping
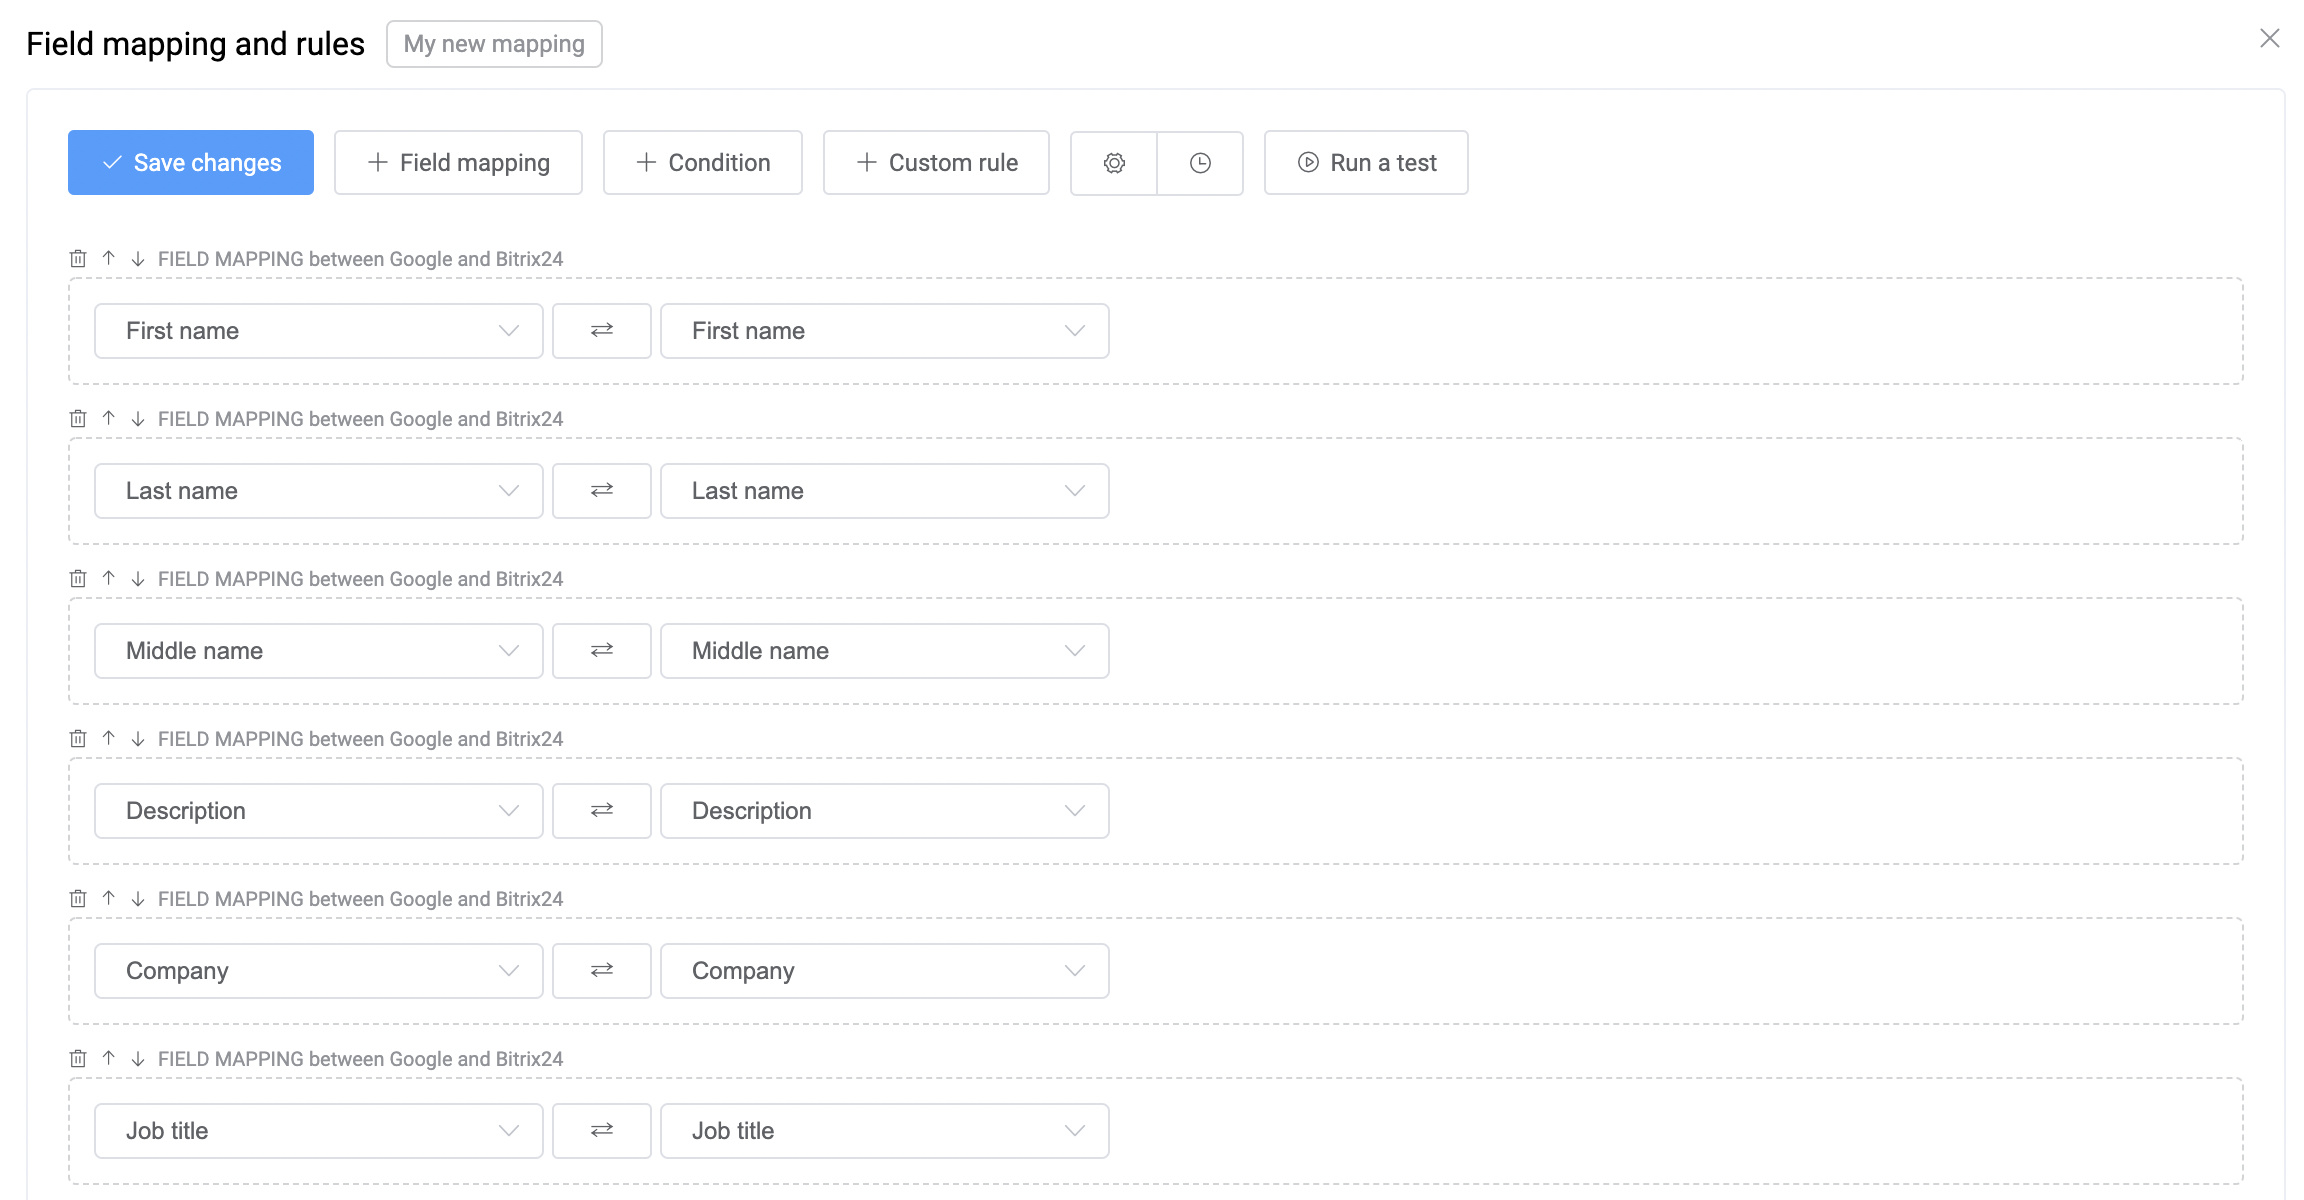
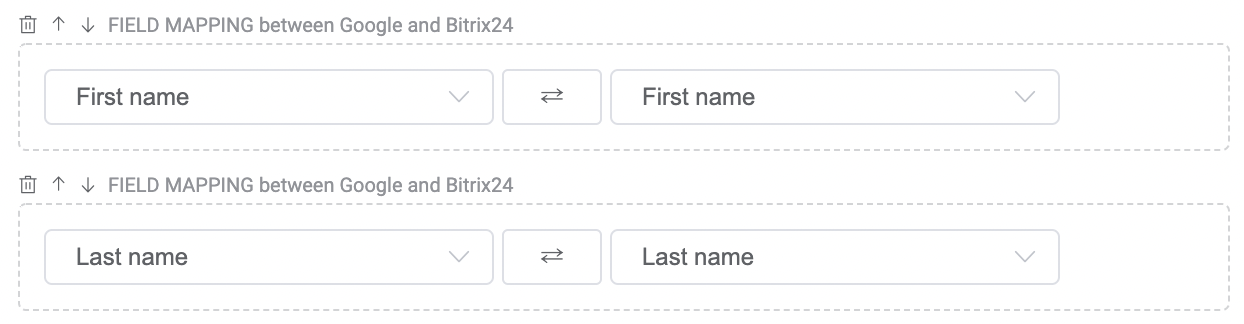
Any sync created in SyncPenguin has a default field mapping, which usually includes all basic and common fields between the two synced applications. To create a custom mapping, open your sync and click the Customize button in the Field mapping & rules section:

Once you enter the name, a mapping area will open with all fields mapped by default:
Sync flow
Before applying customization it's important to understand how field mapping is used in SyncPenguin.
Each time a new data record is created or updated (be it contact, meeting, task, etc.) in your application, it's picked up and processed by SyncPenguin. This is exactly when the field mapping is applied to transform the data from one application format to another, and then this mapped record is added or updated to the other synced application.
Please note that some customizations of two-way sync might lead to undesired loop mapping if not handled properly. For example, if you simply prepend the meeting subject with some text in both sync directions and the meeting is processed by SyncPenguin multiple times in both directions, the subject will be prepended multiple times as well.
Mapping structure
Each mapping consists of parts, and there are three types of parts:
- Field mapping is a simple two-way or one-way mapping of two fields from both applications.
- Condition to add filters and control what data is synced.
- Custom rule to apply any other custom rules or data transformations using the no-code interface.
The mapping logic of the parts is applied from the bottom to the top.
Field mapping
Field mapping is responsible for the mapping of two fields of both applications. You can select what two fields are mapped and what is the mapping direction. If the fields have a fixed number of possible values (for example, a task status field), you can choose how those values are mapped between each other.
Note that fields must be of compatible types to be mapped together. Also note that some fields might be read-only, which restricts the sync direction of such fields.
Conditions (filters)
Conditions can be used to apply filters to your synchronizations.
For example, if you only want to sync Google contacts with label CRM, you can add the following condition to your mapping:

Similarly, if you, for example, do not want to sync private Google meetings, the following condition can be added:

Note that you can also combine conditions using AND or OR operators:

You can add multiple conditions to your field mapping. At least one of them has to be satisfied for the filter to be applied.
Custom rules
Custom rules cover any further customizations that you'd like to apply to your field mapping. Our no-code interface and wide range of components allow you to apply the logic of any complexity to your mapping.

Testing
Once you have applied some customization to the field mapping, you can test to see if the changes transform the data in the right way. Please note that this is abstract testing that does not affect your actual application data in any way.
To test the field mapping, click the Run a test button. You'll then see the testing area that looks like this:
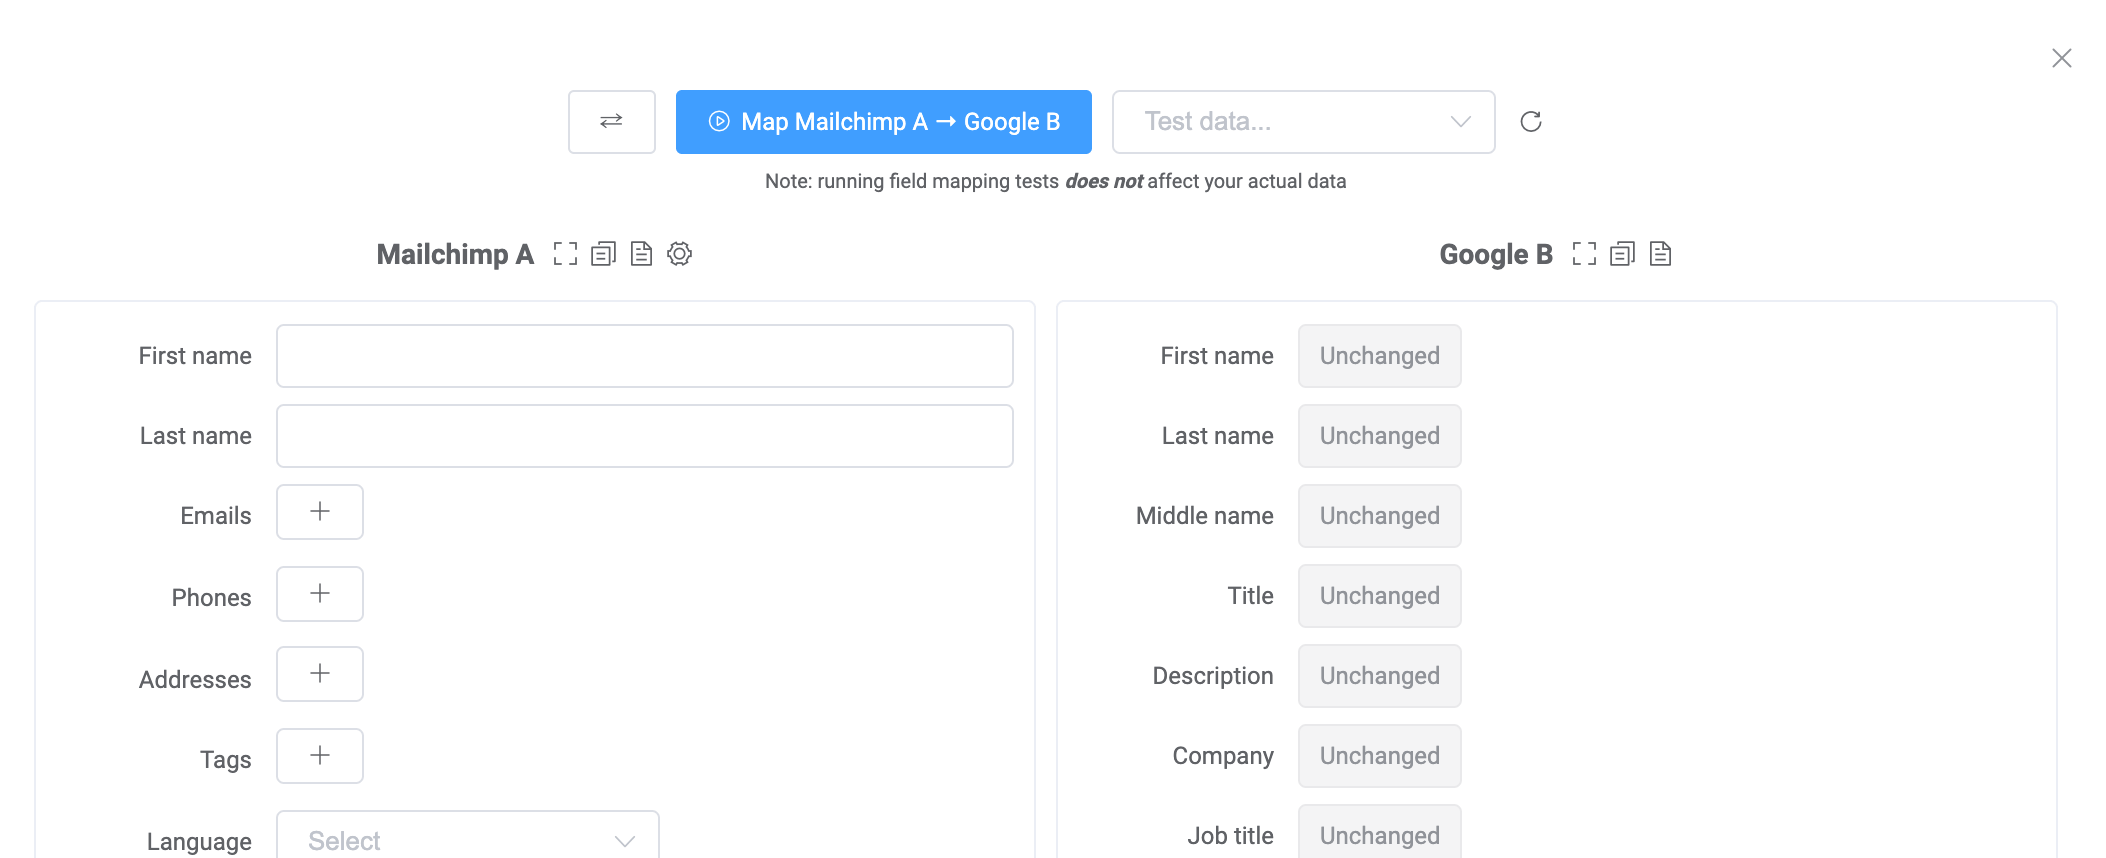
On the left side, you can enter the field mapping input data, meaning the data fields of your source app. Once you click the Map button, the right side will show how the data is mapped to the destination app.
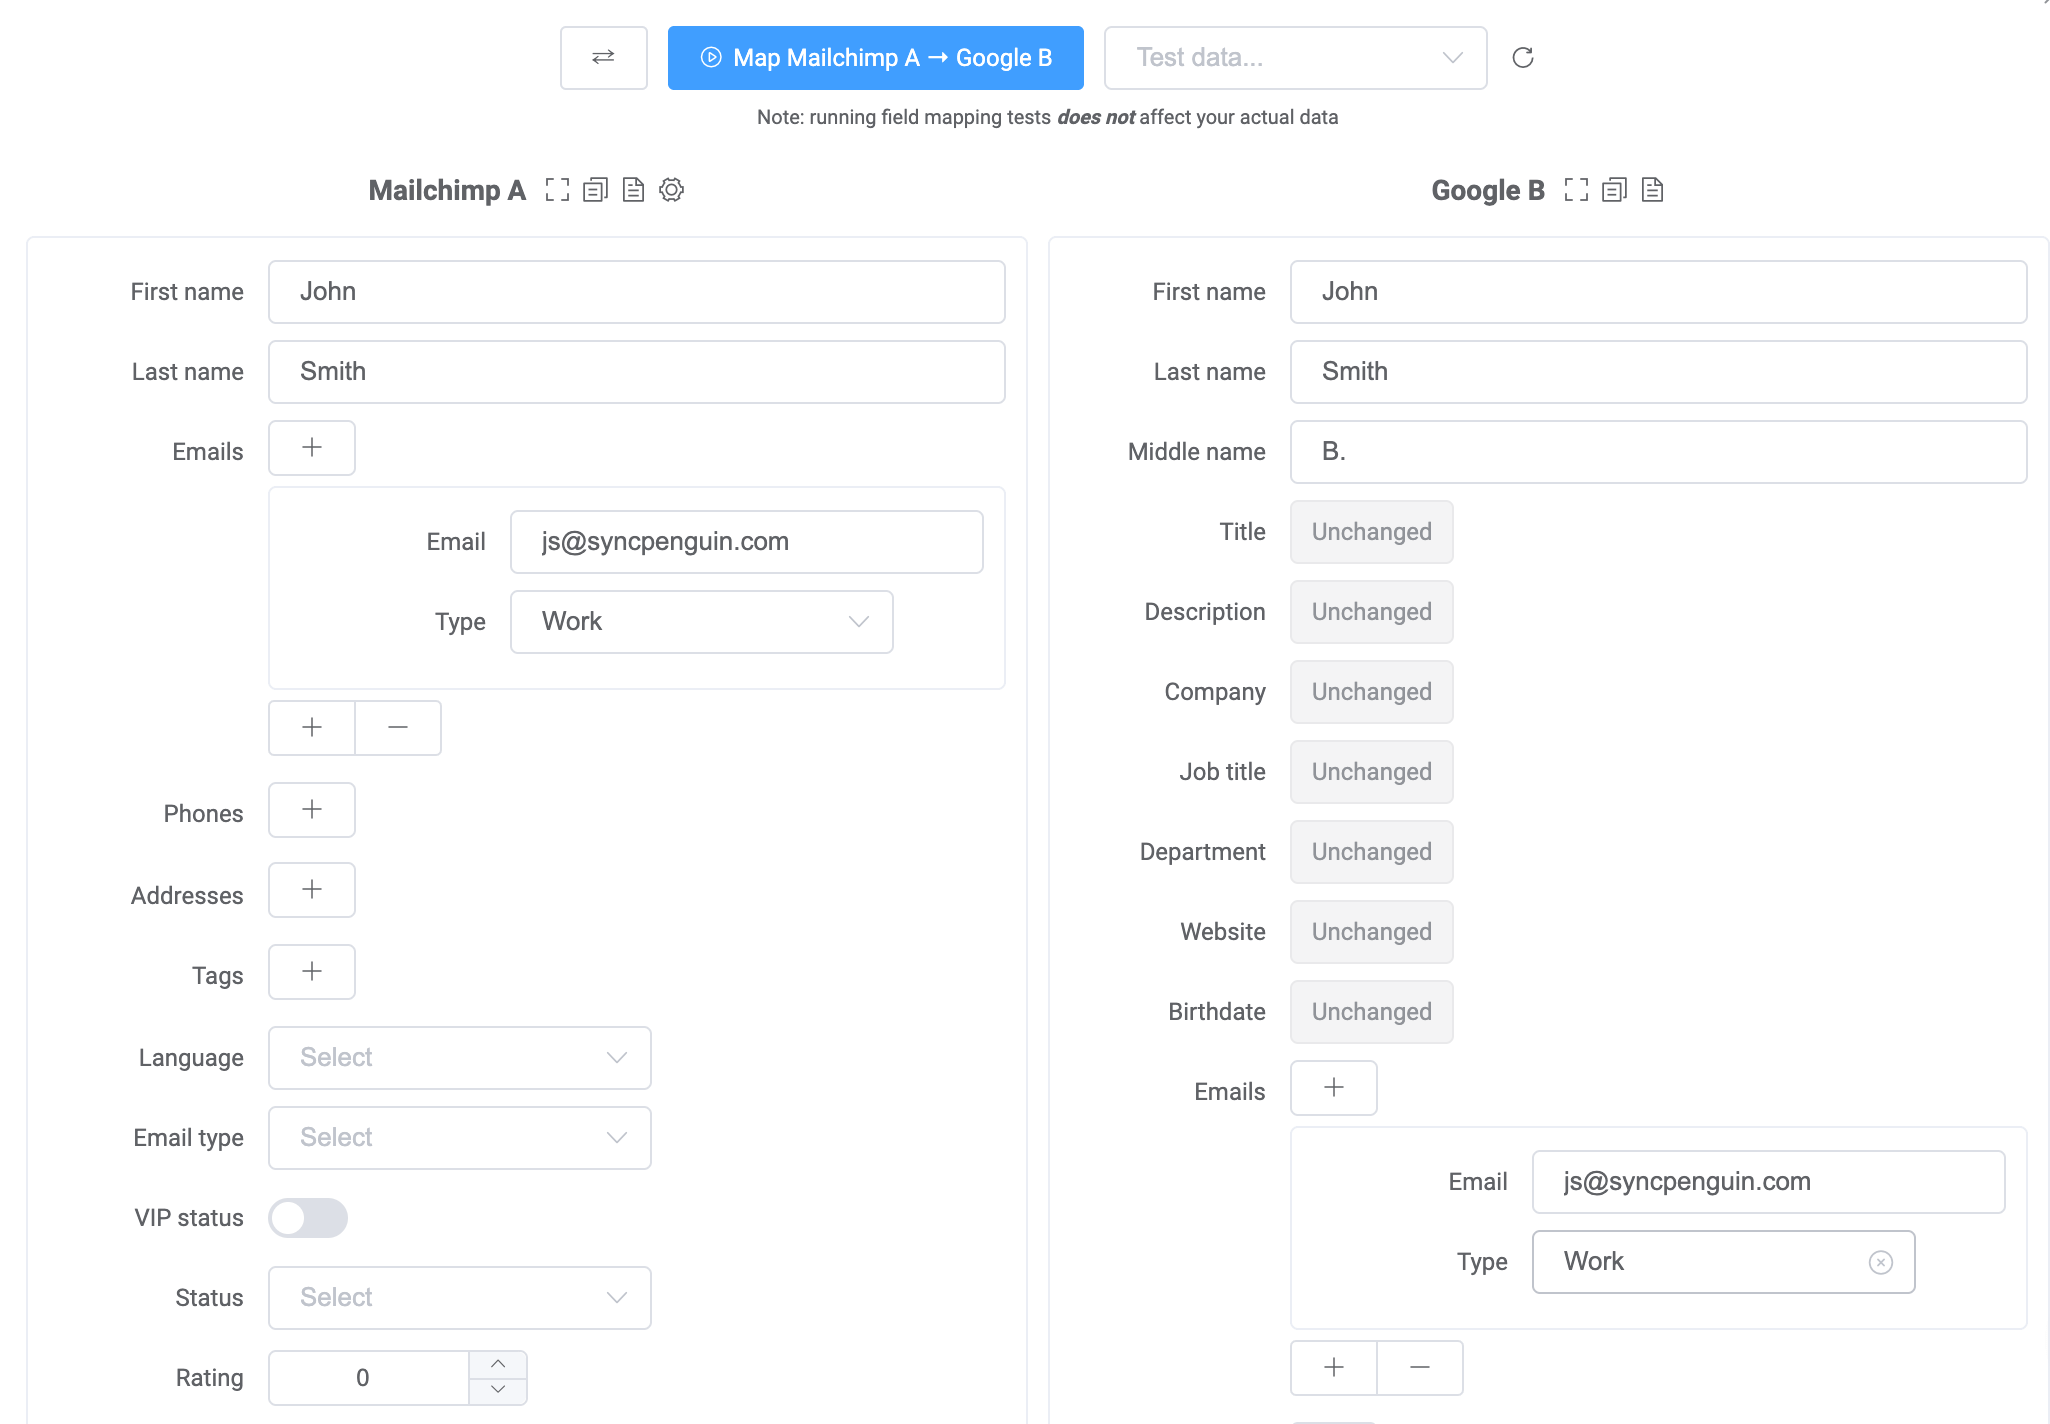
You are also able to use your real data as field mapping input. To load it, click on the Test data dropdown. Please note that it might take a moment for the loading to complete.

Contact us
Anything unclear? Feel free to contact us!


