Customization (Blockly)
SyncPenguin provides a high level of advanced customizations of the sync process. This includes adding/removing fields from field mapping, applying filters, custom fields, conditions, loops, and other forms of data transformation.
This guide provides in-depth information on how to configure custom field mapping using our visual interface without any code.
Create custom mapping
Any sync created in SyncPenguin has a default field mapping, which usually includes all basic and common fields between the two synced applications. To create a custom mapping, open your sync and click the Create custom mapping button in the Field mapping & filters section:

Once you enter the name, a mapping area will open in a new window, which looks like this:

The mapping area consists of the following parts:
- Mapping direction that indicates which direction is currently being configured. Click on it to switch to the opposite.
- A button to open the testing area.
- Refresh button to reload field data.
- History of changes button that opens the list of revisions with the possibility to revert to any previous version.
- Settings where you can rename your mapping.
- Save changes button to save and apply the mapping.
- The configuration area.
- Customization blocks.
Sync flow
Before applying customization it's important to understand how field mapping is used in SyncPenguin.
Each time a new data record is created or updated (be it contact, meeting, task, etc.) in your application, it's picked up and processed by SyncPenguin. This is exactly when the field mapping is applied to transform the data from one application format to another, and then this mapped record is added or updated to the other synced application.
Each mapping has two directions. If your sync runs one-way, you can simply ignore the other mapping direction as it's never applied.
Please note that some customizations of two-way sync might lead to undesired loop mapping if not handled properly. For example, if you simply prepend meeting subject with some text in both sync directions and the meeting is processed by SyncPenguin multiple times in both directions, the subject will be prepended multiple times as well.
Field mapping
Field mapping is configured using field blocks. To browse what fields can be used in mapping, expand one of the two field block sections on the left:
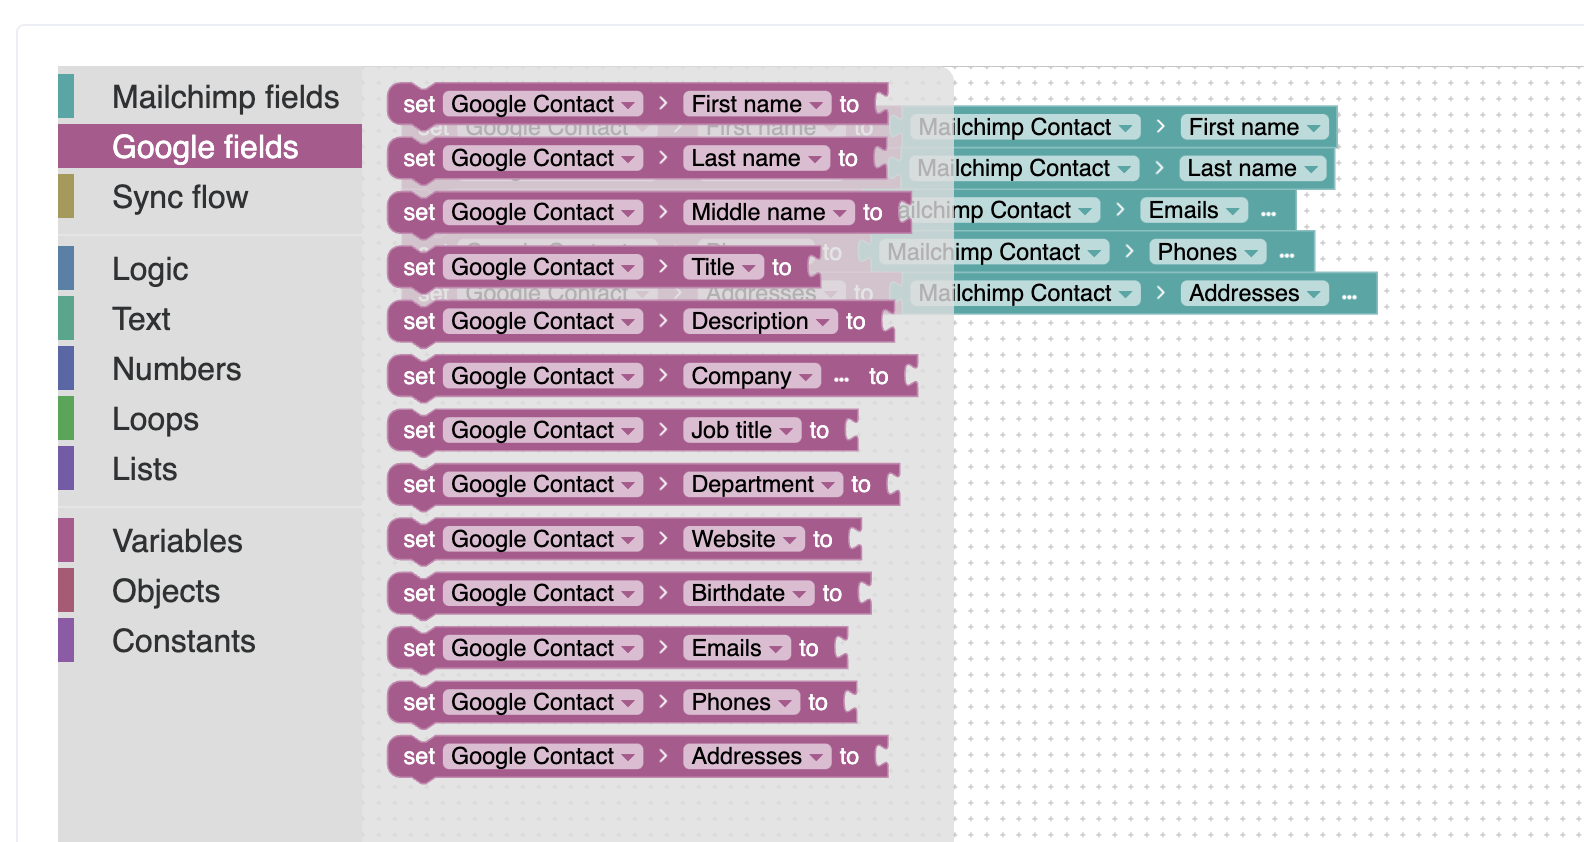
Note that some fields might be read-only and hence only available in one sync direction.
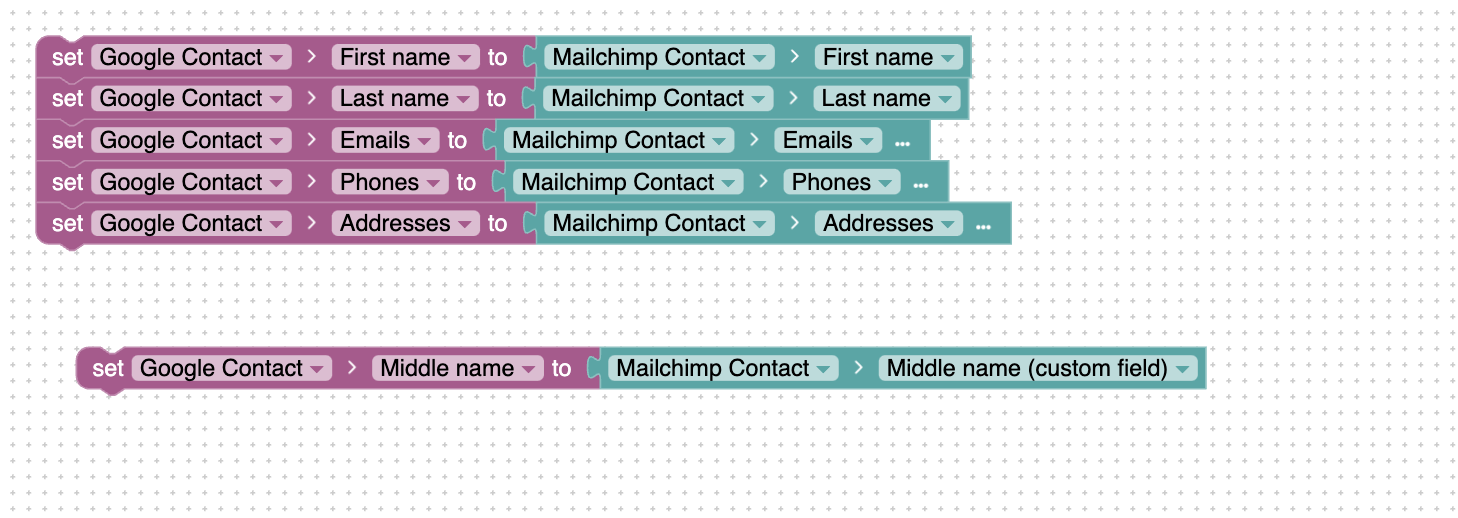
To add fields to the mapping, drag and drop one block from each app to the configuration area:

After that, connect the two blocks:
Lastly, you can vertically connect the blocks with the remaining ones. This is done just for readability purposes.
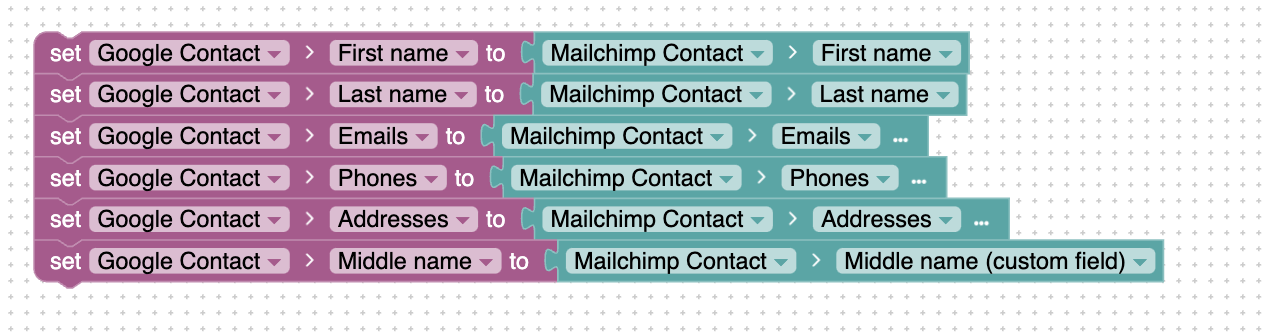
To remove fields from the mapping simply select the corresponding block and press delete.
Please note that field blocks are of different types (text, number, date/time, bool, or object). If two fields are of mismatching types, you won't be able to connect them.
Testing
Once you have applied some customization to the field mapping, you can test to see if the changes transform the data in the right way. Please note that this is abstract testing that does not affect your actual application data in any way.
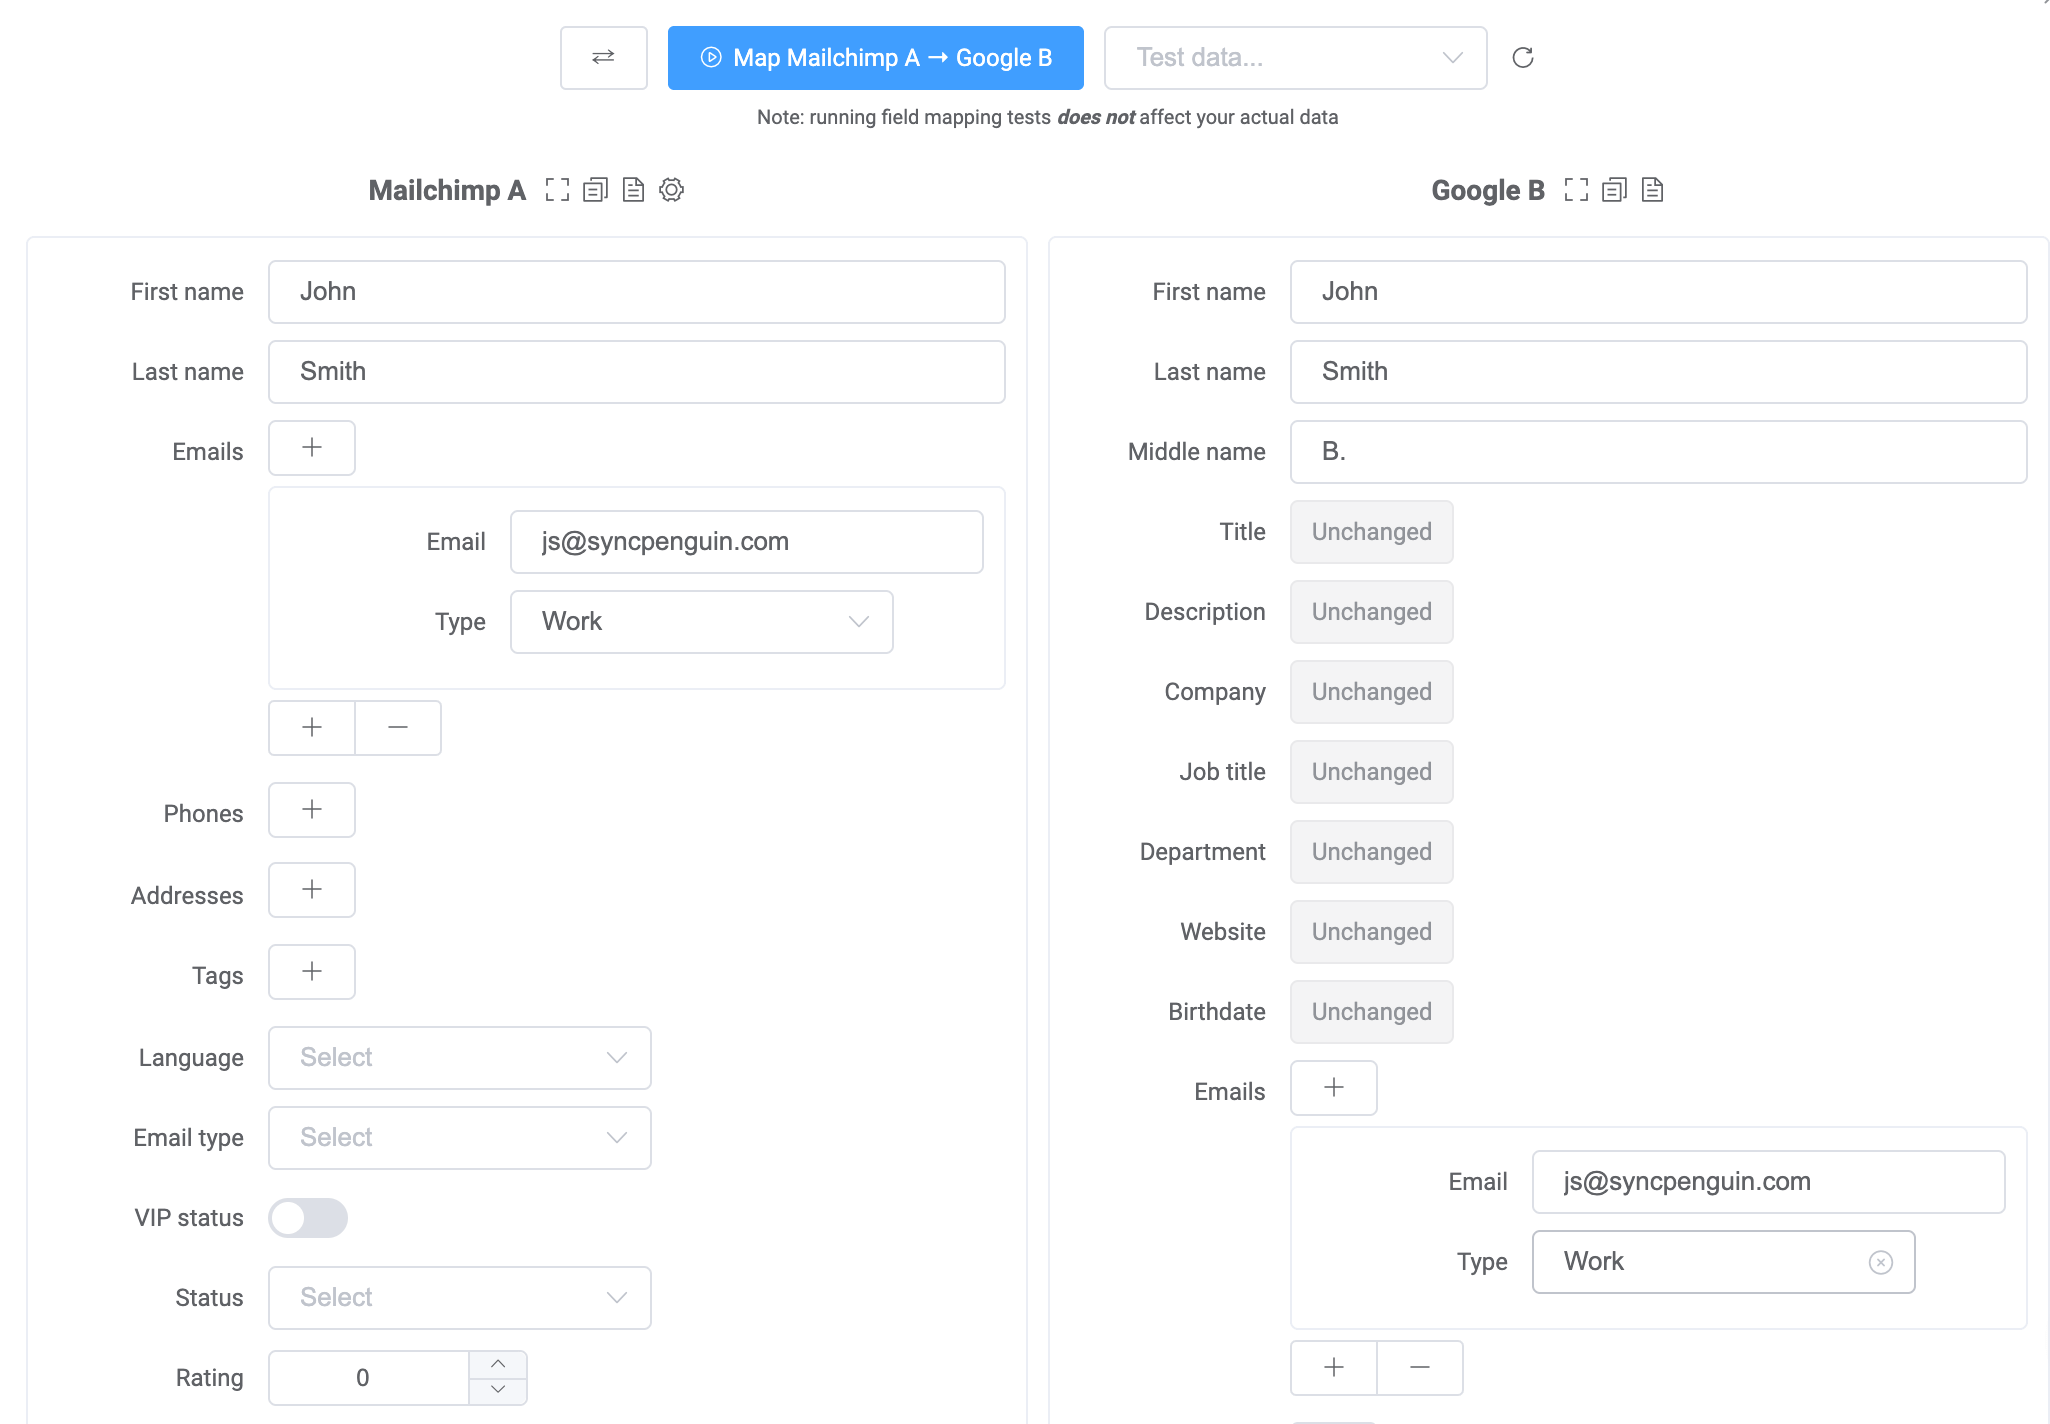
To test the field mapping, click the Run a test button. You'll then see the testing area that looks like this:
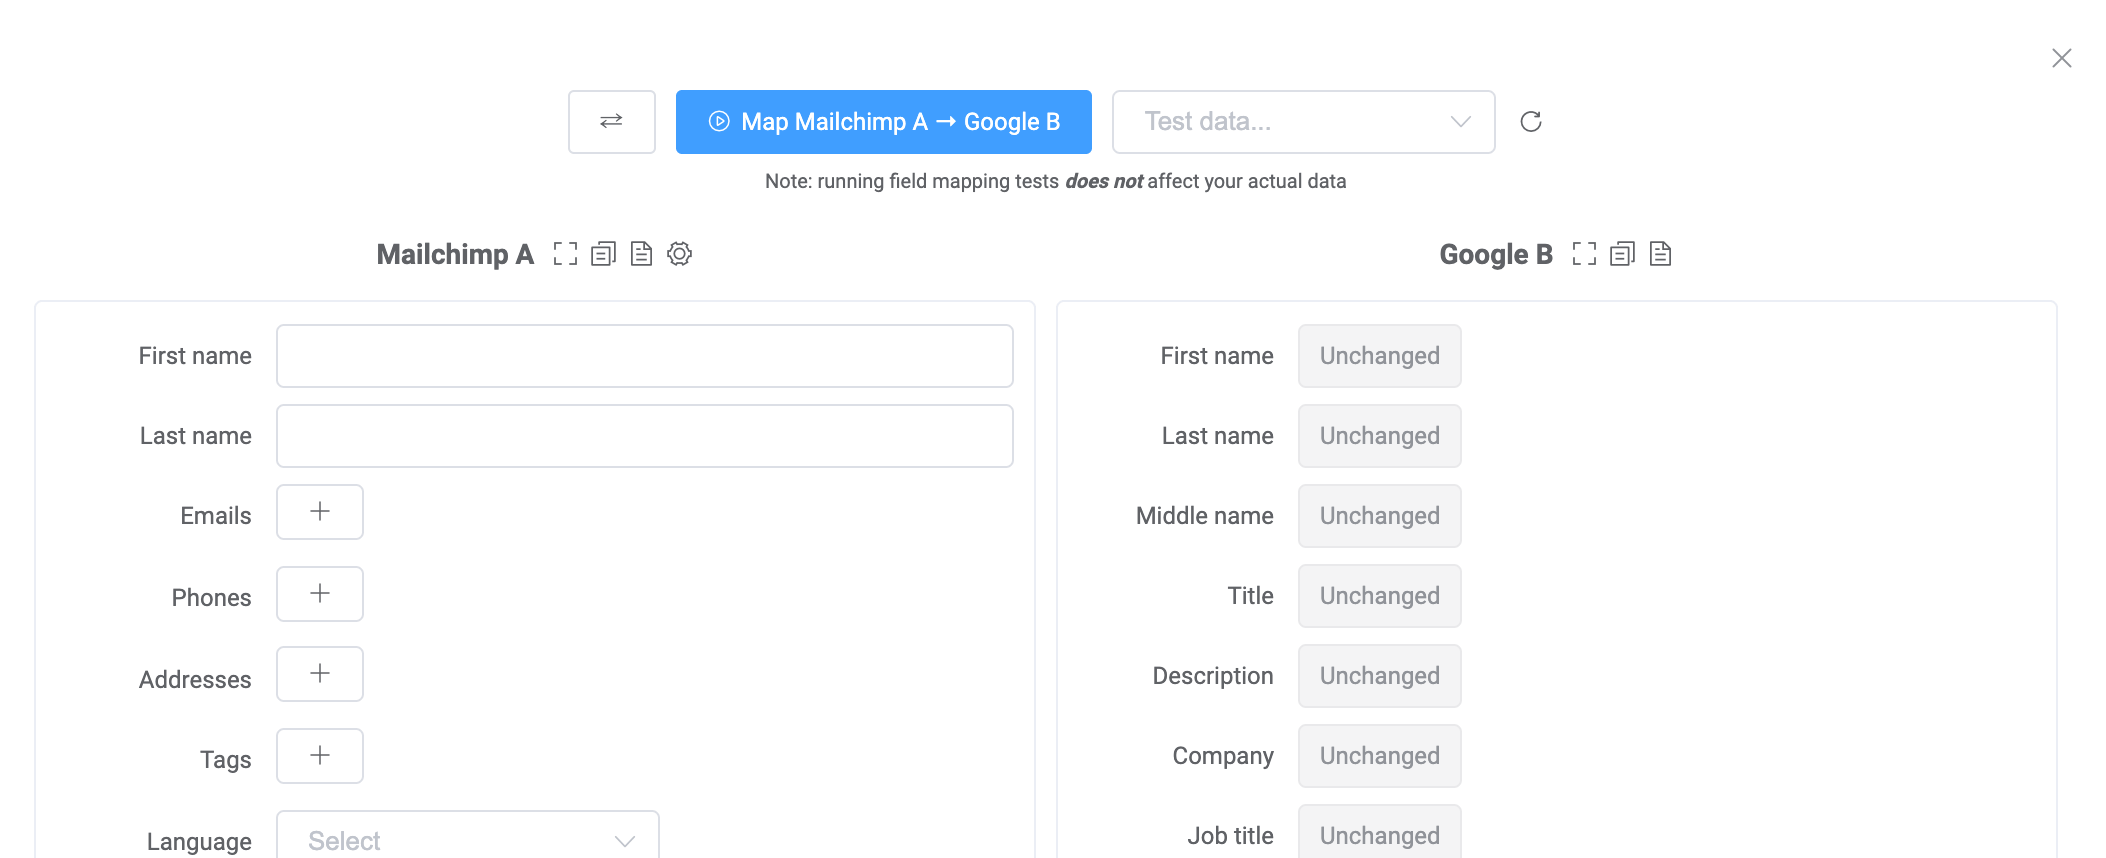
On the left side, you can enter the field mapping input data, meaning the data fields of your source app. Once you click the Map button, the right side will show how the data is mapped to the destination app.
You are also able to use your real data as field mapping input. To load it, click on the Test data dropdown. Please note that it might take a moment for the loading to complete.

Filtering
Field mapping can be also used to filter out any data that should not be synced. For example, if you only need to sync Mailchimp contacts with the status 'Subscribed', you can add the following condition to the field mapping:
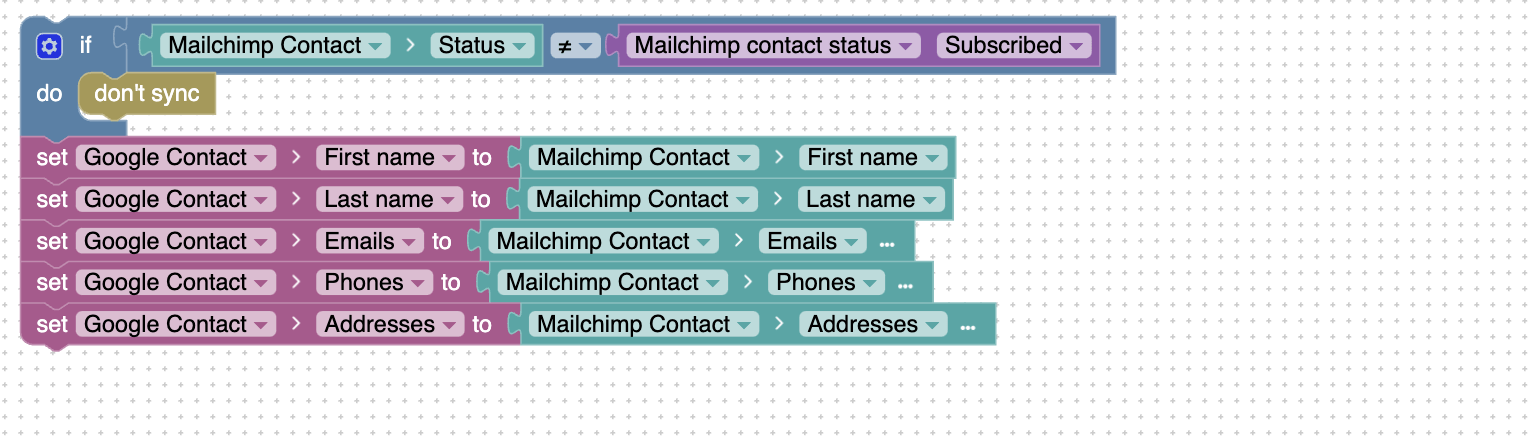
Note that to filter out data, we use 'don't sync' blocks that can be found in the Sync flow section. Whenever this block is encountered, the data record that is currently being mapped is ignored altogether, which means that it will not be processed and synced to the other application.
Also note that filtering logic can be placed anywhere in the mapping configuration, not necessarily at the beginning.
Here's another example that is filtering out Mailchimp contacts that contain the 'Private' tag:
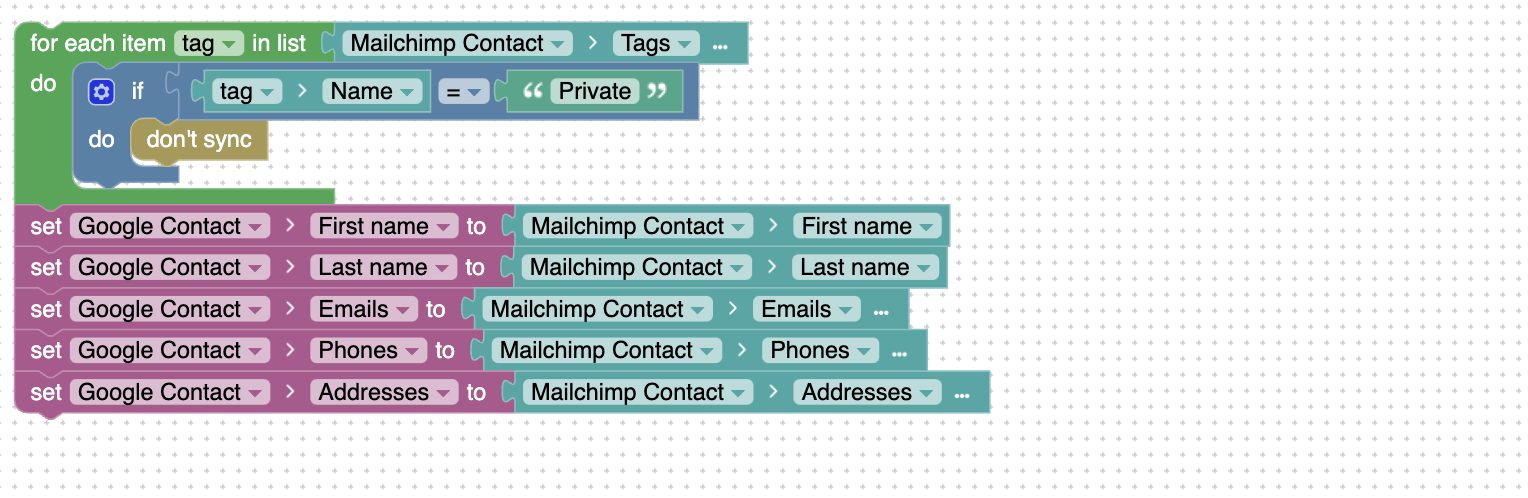
In this case, we use a loop to go over all tags of the contact.
Conditions & logic
Conditions allow you to have broad control over how data is transformed between the two synced applications. Condition and logic blocks are located in the Logic section of configuration blocks. Some of the most commonly used blocks are the following:
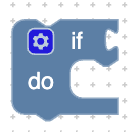 | This block is used to add 'if' conditions to your mapping. You can click the gear icon to add 'else-if' or 'else' conditions. |
 | This block is used to check two values for equality, inequality, or to compare them. You can click on the dropdown to select which operation is used. This block can be used with text, number, date/time and boolean values (true/false) |
 | This block can be used to combine two logical values together with 'and' or 'or' operation. |
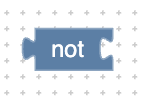 | The 'not' block can be used to express opposite logical value than what is connected to it. |
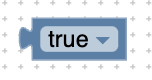 | The true/false block simply represents true or false value that can be used for comparison in conditions and checks. |
List operations
List operations allow you to loop over, transform, or filter lists. Loop blocks are located under the Loops section, and list blocks are located under the Lists section. Here are some of the most commonly used blocks:
| Checks if the connected list is empty or not. | |
 | Returns the length of the given list. |
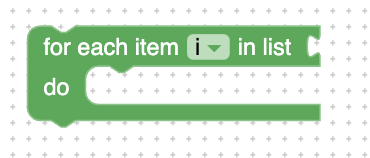 | Loop over all elements of a list. Note that this block creates an additional variable that can be used to access the currently processed element of the loop. |
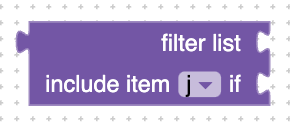 | This block can be used to filter elements of a list. Note that it doesn't modify the original list but simply returns a new one with filtered elements. |
| This block can be used to transform all elements of a list from one format to another. |
Contact us
Anything unclear? Feel free to contact us!


