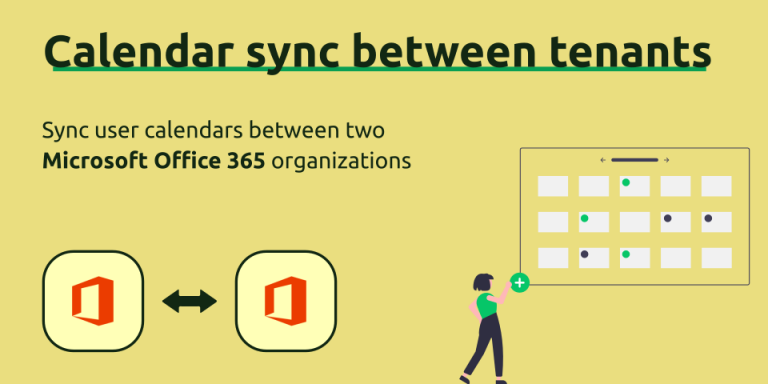
How to sync room calendars between Microsoft 365 tenants?
Imagine a scenario where your company shares an office meeting room(s) with another organization, and both of you utilize Microsoft Office 365 as your preferred office suite. However, you encounter a challenge: meetings cannot be directly shared between the two tenants. In such a situation, how can you effectively manage the room’s calendar?
Fortunately, SyncPenguin offers a seamless solution, allowing for the effortless two-way synchronization of room calendar meetings between two organizations. In this blog post, we will guide you through the process of setting up and initiating this synchronization.
Setting up the sync
SyncPenguin is a cloud-based SaaS platform, and all synchronizations are managed from the dashboard: https://dashboard.syncpenguin.com. You need to create an account and sign in before setting up the sync. We provide a fully free 14-day trial to ensure the syncing works as you expect.
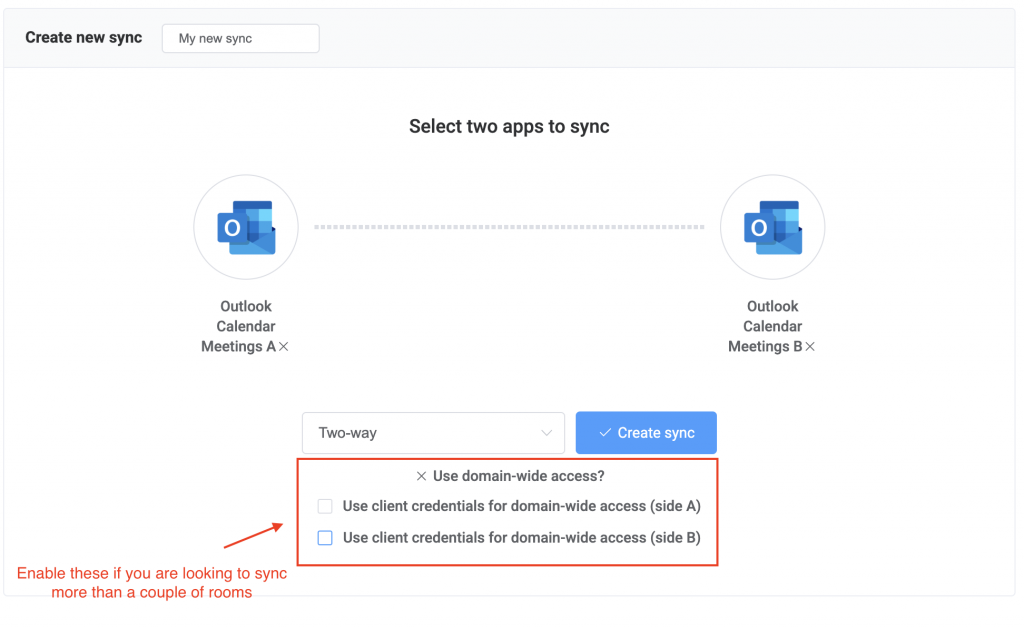
Once you are signed in, head to the “Synchronizations” section (left menu) and click “+ New sync”. Then, select “Outlook Calendar Meetings” as both synced apps. After that, select syncing direction (two-way or one-way). Note that we also provide a connector called “Office 365 Calendar Meetings”, but we recommend using the Outlook connector for room calendar syncing due to better performance and newer Microsoft APIs used, enabling near-instant syncing.
If you are looking to sync more than a couple of room calendars, we also suggest you enable “domain-wide access” sync configuration (as explained in the picture below), which enables you to connect the two tenants once, instead of connecting each room separately. In this blog post, we review a scenario where only one room is synced and domain-wide access option is not enabled.
Once all options are set, click “Create sync”.
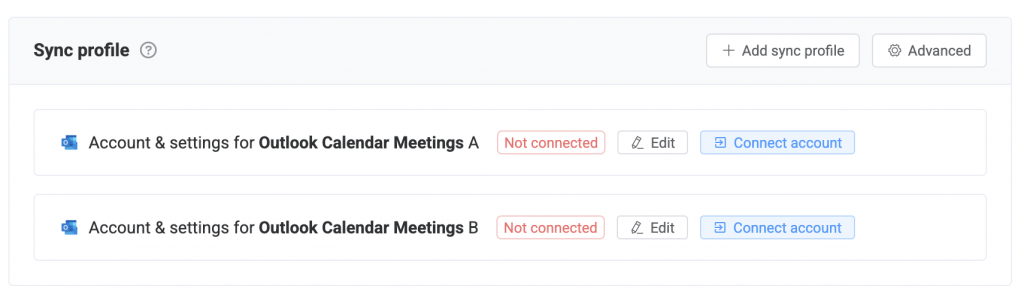
You’ll then see the main sync page. In the “Sync profile” section, you need to connect two accounts (user or service) of the two synced tenants that have full access to the room calendar. To connect an account, just click the “Connect account” button.
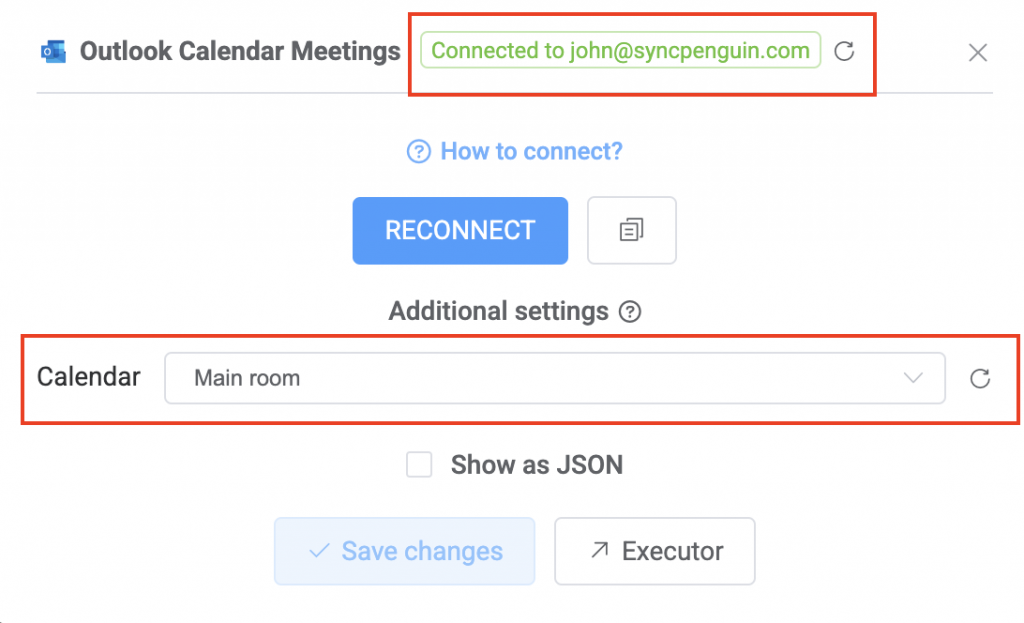
After an account is connected, you also need to select the room calendar to sync. The connected account must have full access to the room, and be added to the user’s list of calendars in Outlook. If you don’t see the room listed in SyncPenguin, try to remove the room from your Outlook list and add back, and then refresh in SyncPenguin.
Field mapping
By default, all meeting details are synced between two calendars, including subject, location, and descriptions. If you don’t want to sync meeting details with the other tenant, select the “Only busy status” field mapping in the “Field mapping & rules” section:

This will ensure time slots are booked between the calendars, while all meeting details are kept private to each Office 365 tenant.
Starting sync
Once both room calendars are connected, you can start the syncing process. To do that, click the “Start syncing” button. You will then see a window asking whether we need to merge existing calendar meetings between two rooms. We recommend merging meetings two-way.
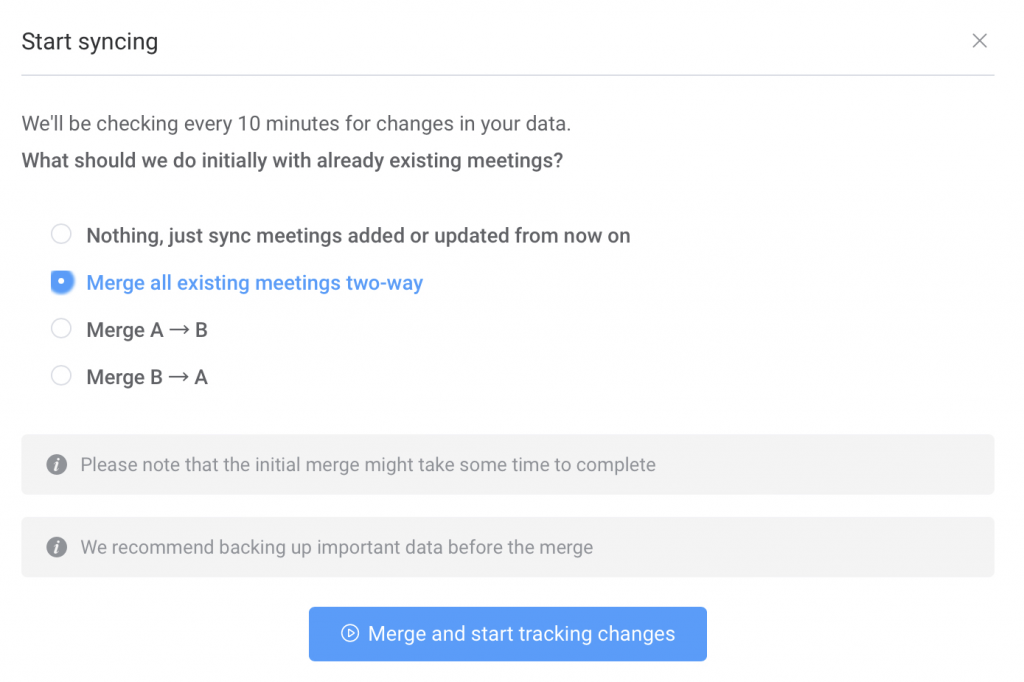
Once the merge is done, SyncPenguin will be automatically watching for changes to your calendars and syncing them right away.
Syncing more rooms
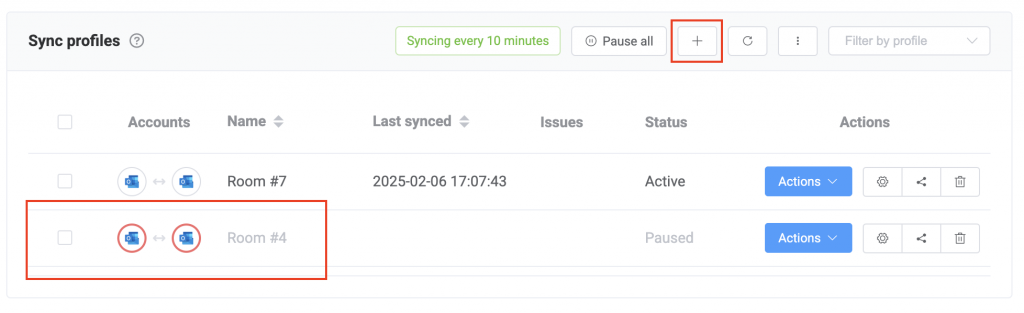
If you have more rooms to sync, feel free to click the “+ Add sync profile” button, and you’ll see the sync profile view turn into a table, with each row containing two connected accounts/rooms. Connect the second room in both tenants again by clicking the Outlook icons in the second row, and start syncing in the similar way as previously (by clicking “Actions”, followed by “Start syncing”).
Note that, as we mentioned in the “Setting up the sync” section of this blog post, you can also configure the sync with domain-wide access, enabling a very simple way of adding new rooms to the sync. This is recommended when you have more than a couple of rooms to sync.
Looking for an O365 integration or sync?
Are you looking for an automation, sync, or an integration for your Microsoft Office 365 tenant(s)? Maybe we can help you. Feel free to review what we offer on the website, or contact us about your use case.